|
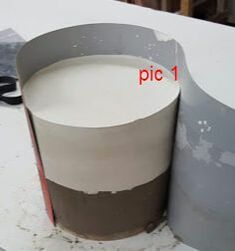
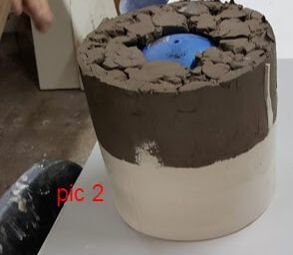
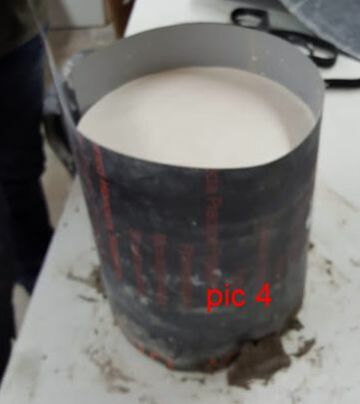
I needed moulds of my own, so new skills to learn. First a three dimensional object , in this case a sphere, is required. This used a borrowed ball, sat on a throwing batt 6cm greater in diameter than the ball itself. Plaster clay was used to build up a smooth topped wall to half way up the ball. (This stage is shown, upside down. in pic1 after the first half of plaster has been added). The vertical edge of the wall aligned with the outer edge of the batt. The challenge was to keep the midline of the ball horizontal. I used a set square. A thick plastic collar was then wrapped round and held in place by a strap and by clay at the base. The next stage is to mix up sufficient plaster. Five pints of cold water, 8lb 2oz fine architectural plaster, stirred gently to remove lumps and bubbles till thick enough to show a line was perfect. (pic1) This first half was left overnight to set. Next day the collar was removed and the form turned over (pic 2); plaster clay gently removed (pic 3) and three sloping steps cut in so that the two halves would sit together correctly. T.he top edge of the plaster was smoothed, the ball and plaster coated with soft soap and the collar replaced. Another 5 pints of plaster went on (pic 4), and another nights setting time. The circumferential edges were smoothed off to reduce the chances of them breaking, marks added to the outside to indicate how it should be put together -and voila! a perfect mould to be put aside and dried out properly.
This one is heavy enough, but I need to make bigger ones, and find bigger balls to model them on.
0 Comments
Leave a Reply. |
AuthorI am indulging my passion for ceramics by undertaking studies for an MA at UCLAN Archives
August 2021
|

 RSS Feed
