|
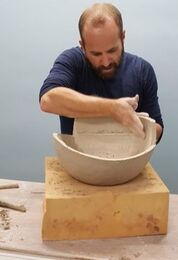
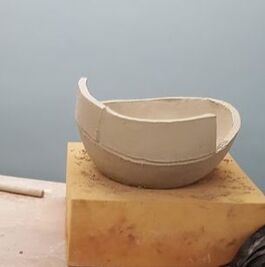
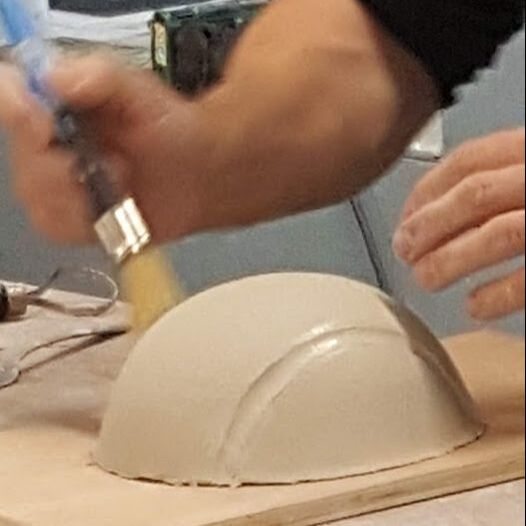
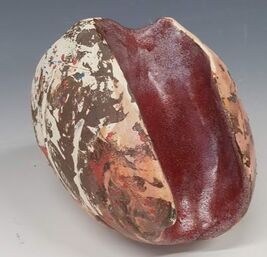
At the end of October, Mary and I took the opportunity to go on a 5 day slab building and decorating course with James Oughtibridge and Rebecca Appleby. The course is held in the Sculpture Lounge, a converted mill which now houses studios for artist makers in ceramics, metal, stone, and more. Many of these talented people run courses -so check out the website! Both James and Rebecca use firm slabs in Ashraf Hanna clay to make large hollow forms, but their style and approaches are different, which makes their course a very affirming experience - there is no one 'right way'. 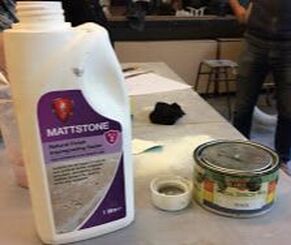 Rebecca's sculptures are designed for indoors but James's are not. What about the weather proofing? James only fires to around 1200 but then treats the surface with stone sealant to reduce mould/algeal growth and improve weather resistance. He is also prepared to return to purchased sculptures and give them a good scrub. That's a little warning about ceramics left outside! 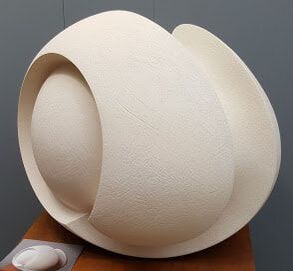 James may colour the clay body and in the past has used a coloured surface finish (though not glaze). He aims for continuous curves but makes them from slabs which have been dried in curved plaster formas then cut for construction, so that there may be as many as 50 pieces joined in a sculpture like this one. Not surprisingly the teaching laid major emphasis on how to join slabs! James opens the joins then reinforces both inside and out with coils before smoothing off.
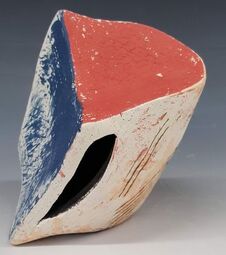
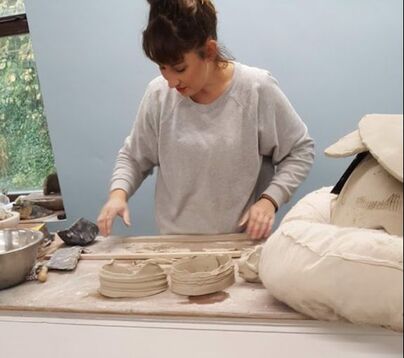 Rebecca is also a painter. Her sculptures are freer; also large and curved, but with flat planes and angles, texture and colour. After the initial hand building she may beat and alter the form, cut into it and even add wire. She uses very little glaze, but lots of coloured slip and underglazes. Although the clay is very pale in colour, she will cover the piece in black and then white to get the effect she wants. She demonstrated some texturing and printing techniques, and how she would make a torn edge. 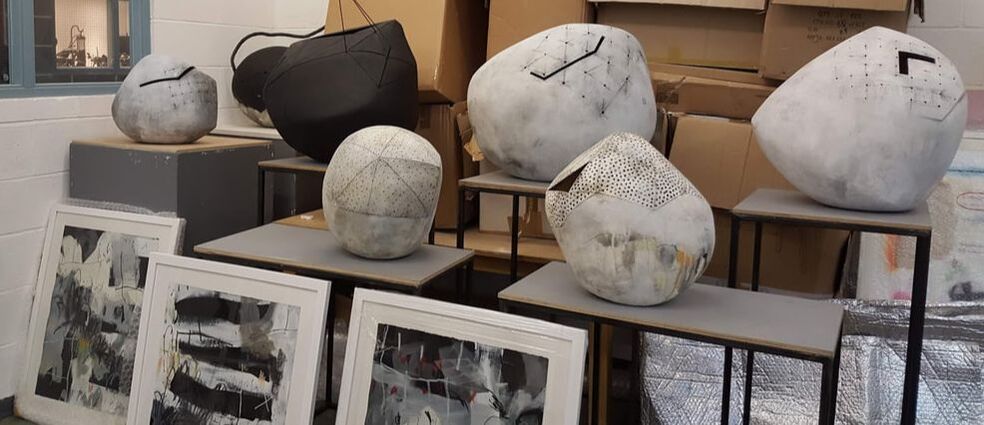 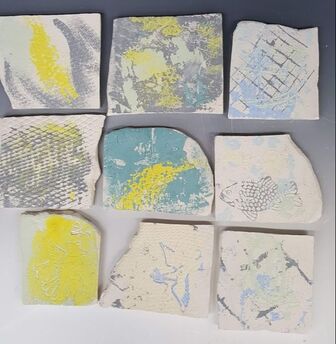 We tried these printing methods on tiles. These bisque fired slabs have slips and underglaze applied in the muted tones available. Of course these colours will be stronger if fired to stoneware temperatures. Rebecca will do lots of drawing before she starts on a sculpture; James draws directly onto a piece. Both will use 3D maquettes to try out ideas and that's what we did too -not least because its easier and quicker to work small. These are my three macquettes:
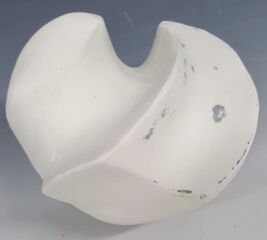
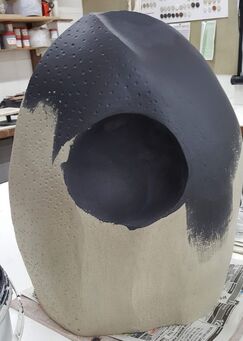
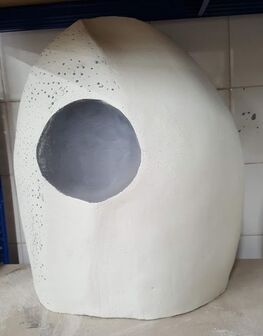
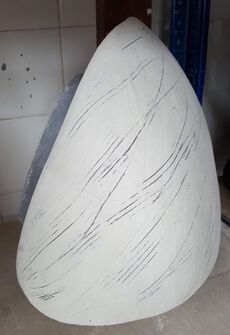
Deciding how to decorate was more of a challenge. The black then white base layers went on most areas but I decided to omit the white where I had definite plans to apply a darker slip or glaze. The first two have also had coloured slip added after my return to Preston, and the first some coloured glaze too. The red slip has cracked and flaked in places -perhaps because it is a thick layer and the slip not made with the same base clay. The third one is still green ware with the two layers of slip. I made one large piece to take away and fire, together with several components with which I could make another. All were still quite soft so I had to remake the base and lower front of the largest on return to Preston but, armed with my new confidence in dealing with large slabs, this was a nuisance not a problem.
Here it is, still as greenware, as is the one below. I have taken the opportunity to scratch through. The piece with definite base will be easy to glaze (or not). All the macquettes however look best laid tilted on a curved plane.I now see why neither Rebecca nor James routinely use glaze to decorate.
These pieces are part of my skills development and not really part of the MA work, but I will post pictures once they are finished.
0 Comments
Leave a Reply. |
AuthorI am indulging my passion for ceramics by undertaking studies for an MA at UCLAN Archives
August 2021
|

 RSS Feed
